Buying your first photography kit can feel like an expensive guessing game at times, especially with so many options to choose from. Camera bodies compete for attention alongside lenses and countless camera accessories, with lighting adding another potential expense. A different way to approach this is to build around what you plan to photograph, then add equipment as your skills or projects require it.
The following camera-buying guide can help you build a capable beginner photography kit without spending your entire camera gear budget at once.
Building a Kit Without Breaking the Bank
Your first kit doesn’t have to contain everything you think you might use; in reality, many kits aren’t very large at all. Start with equipment that lets you practice consistently with the basics. That usually means a camera body and one useful all-purpose lens, like an 18-55mm. You’ll also need enough storage and power to finish a shoot, so you may consider buying an extra battery and some secure digital (SD) or microSD cards, depending on the model of camera you choose.
From there, let your photography guide your purchases. Someone photographing portraits has different needs from someone hiking with a compact travel tripod to photograph landscapes. Buying for your actual work can keep both expensive and cheap camera gear from becoming unused gear.
What Do You Really Need in Your First Kit?
Think of photography essentials as the equipment you need to take reliable photos. Start with a beginner camera and a lens suited to your subjects. You’ll also need a memory card with enough capacity for your shooting habits. Add a spare battery and protective camera bag as your budget permits.
A tripod becomes more important when you work with slower shutter speeds or need repeatable framing. If you shoot outdoors, a camera rain cover can protect equipment when conditions change. You can build from this foundation rather than buying specialized equipment before you know you’ll use it.
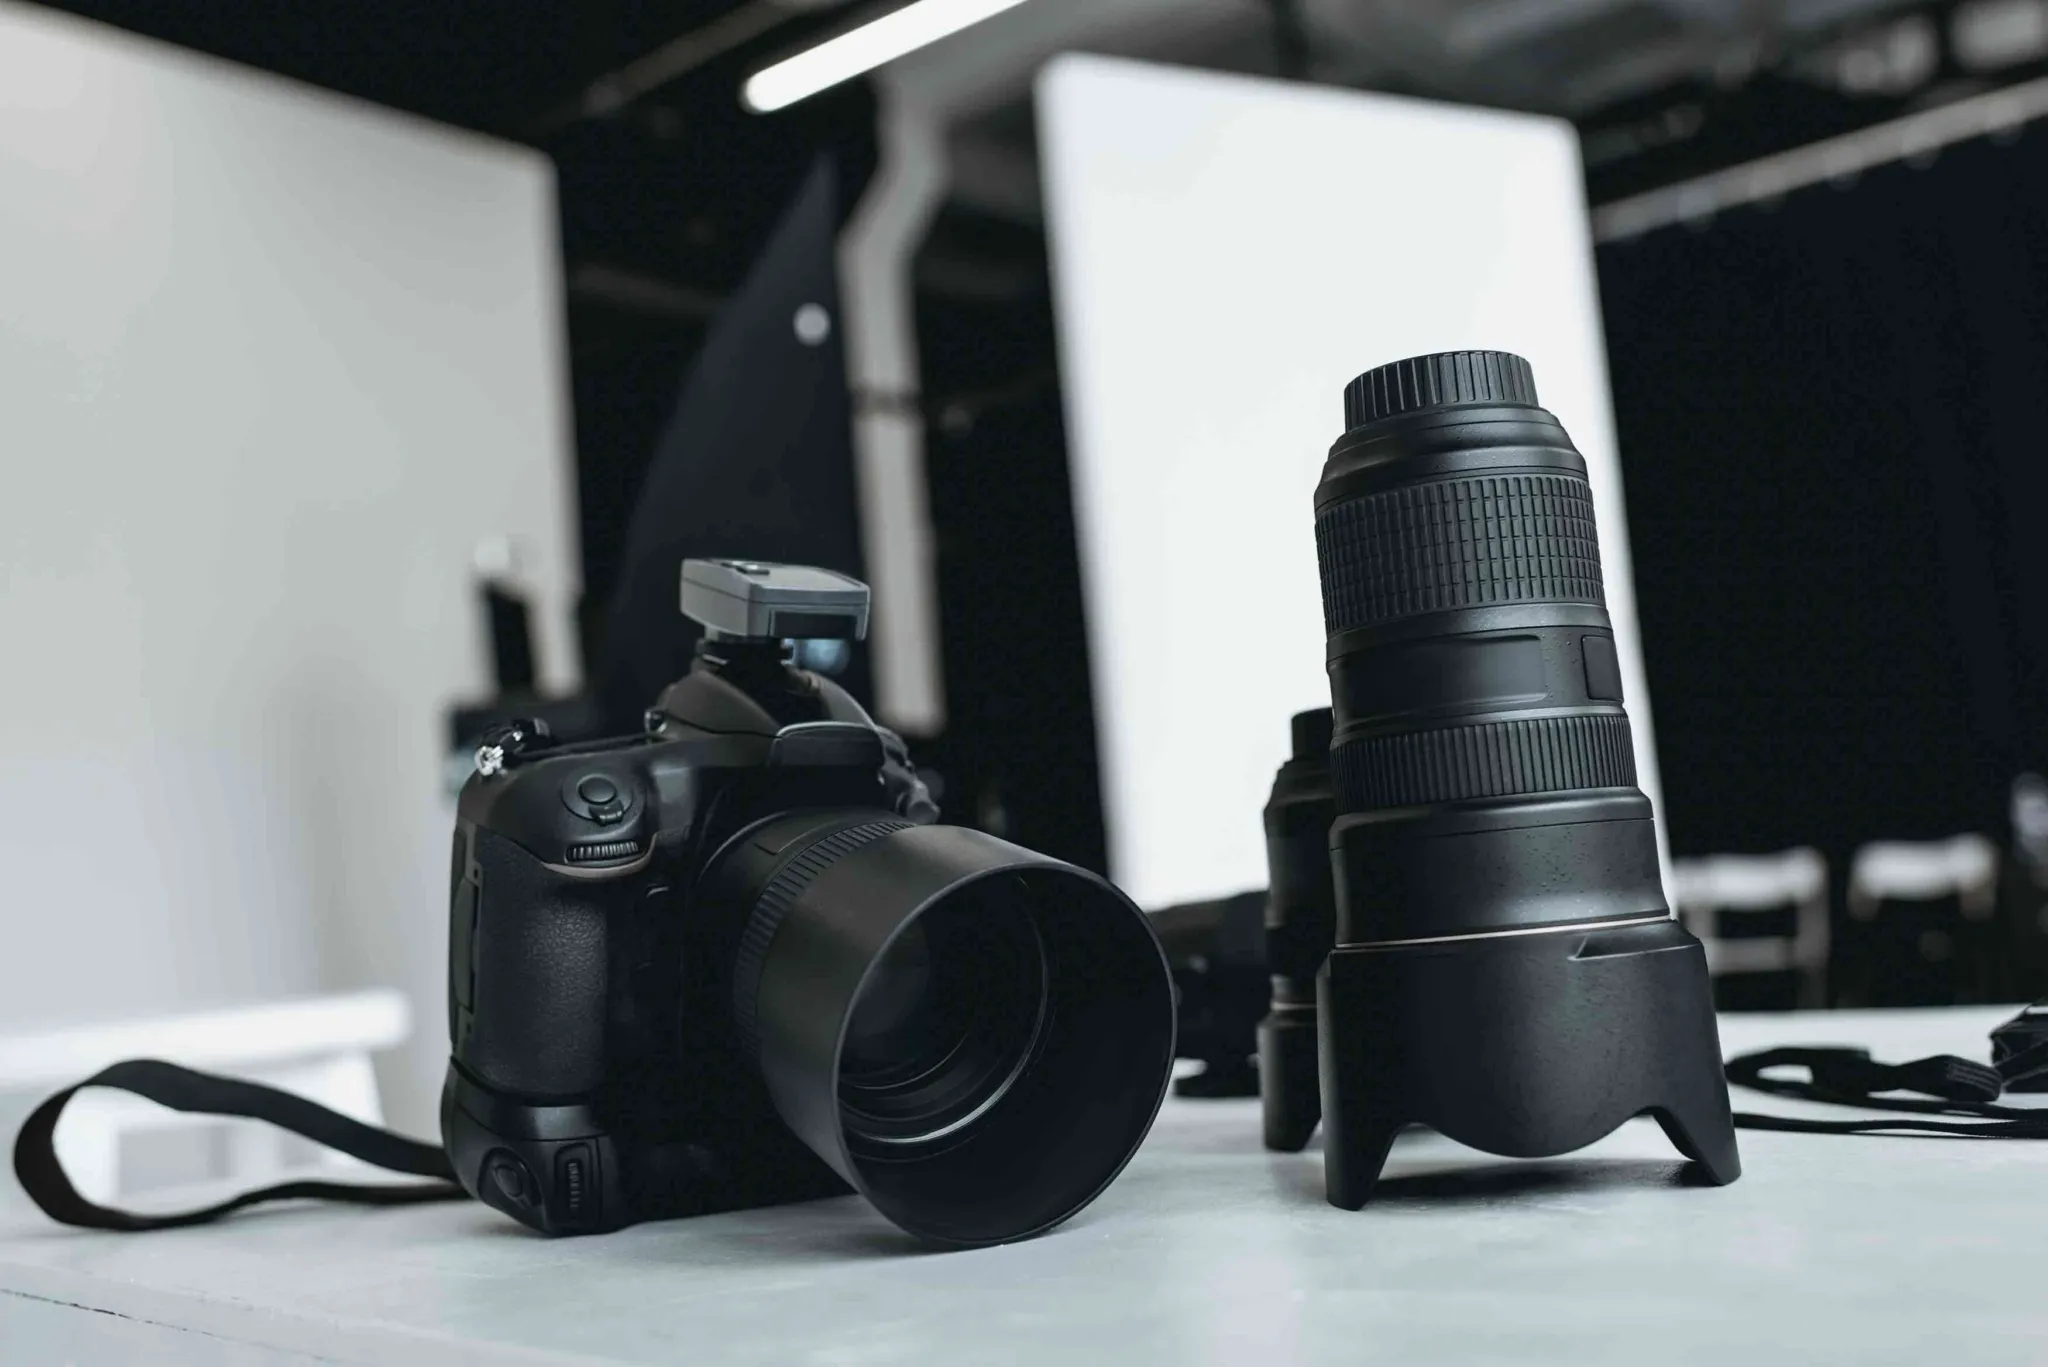
Here’s an example: If you plan to take general-purpose photos, you can probably get away with an 18-55mm lens. However, if you want to take photographs from a distance, you might opt for a telephoto lens instead — which has a long focal length of 70mm or more.
How Do You Choose a Camera Body on a Budget?
The best budget camera isn’t necessarily the least expensive body. Look for one with manual exposure controls and access to lenses that fit the photography you want to explore. Leave room in your budget for equipment beyond the body.
Entry-Level Bodies Worth Considering
Both a mirrorless camera and digital single-lens reflex (DSLR) camera can serve as your first, entry-level camera. Instead of choosing by category, compare handling and lens availability. Consider whether you’re comfortable carrying the body for the types of shoots you expect to do.
You can also learn more about these options through a Digital Photography Certificate at Rocky Mountain College of Art + Design (RMCAD). This certification path develops skills in manual camera operation and strobe lighting. Program materials allow for an entry-level DSLR or mirrorless interchangeable-lens camera, reinforcing that either format can support photography study.
When to Buy Used or Rent
Used equipment can stretch a budget camera gear plan when you buy from a seller that offers clear condition information and a return policy. Namely:
- Inspect the controls and lens mount.
- For lenses, check the glass.
- Test autofocus when possible.
Renting camera equipment makes sense when you need specialized gear for one project or want to test an expensive item before committing.
What Lenses Should Beginners Start With?
There isn’t a simple camera-buying guide that covers which lenses should be your priority. You need to choose what works best for the subjects you plan to photograph.
Versatile Lenses for Everyday Shooting
What kind of camera lens should you get? Beginner photography gear tends to come with variable lenses, such as the 18-55mm lens. There are other options, though:
- A wide-angle lens fits more of a scene in the frame, making it useful when space is limited.
- A telephoto lens gives you a narrower field of view for distant subjects.
- A prime lens has one focal length.
- A 50mm lens works well for portraits and avoids warping on the edges of the image.
Peer-reviewed research on camera focal length explains how focal length and viewing conditions affect perceived depth and spatial distortion. Lens choice can affect more than magnification, so choose wisely.
Building a Lens Collection Over Time
Treat any camera lens guide as a starting point, keeping in mind that it won’t be customized to your needs. Use your first lens long enough to discover its limitations, and choose your next based on what you need it to do.
If you’re constantly wishing you could fit more into the frame, investigate wider options. If distant subjects remain too small, consider longer focal lengths. Your photographs tell you more about your next lens than an impressive specification sheet will.
How Do You Build a Starter Lighting Kit That Scales?
Good camera lighting doesn’t require owning a room full of equipment. It’s about learning how light direction and intensity affect your subject. Many people start with a few lighting options, like external flash or umbrella lights, then expand when a project calls for capabilities their current setup can’t provide.
Affordable Lighting Options for Beginners
Window light costs nothing and gives you an excellent place to study direction and shadow. When you’re ready to add artificial light, one flash or strobe can teach you how lighting position changes an image.
A reflector redirects existing light without adding another powered source, and it’s usually affordable. This approach keeps your photography starter kit manageable while giving you room to experiment.
Adding Gear as Your Skills Grow
It’s ideal to avoid the trap of buying more because you think it feels “more professional.” Instead, add lighting because you’ve identified a limitation you want to overcome. A second light can become useful when you want separate control over a background or another part of your scene, for example.
Learning editing matters, too. Advanced editing techniques connect photography with color work and post-production decisions. You can change the entire feel of a photo in post-production, as long as the original image is high quality.
What Essential Accessories Should You Prioritize?
Accessories should solve problems instead of sitting in your camera bag. Before buying one, ask whether it protects your equipment or improves your work. For example, a polarizing lens filter can be a great help when you need to cut through reflections and create a richer image.
Must-Have Support Gear
A stable tripod can support long exposures and repeatable compositions. A remote shutter release triggers the camera without touching it, which matters when camera movement can ruin an image.
Carry spare storage appropriate to your camera and protect your equipment in transit. If you regularly work outside, weather protection deserves a place in your “photography for beginners” checklist.
Color Targets and Calibration Tools
Consistent color becomes increasingly crucial as you edit photographs or prepare images for different outputs. Color targets provide known references that can support a more controlled workflow.
Color measurement is a technical discipline. National Institute of Standards and Technology (NIST) photometric calibration outlines calibrated standards for properties such as color temperature and luminance. Beginners don’t need a laboratory setup, but learning to work with known references can build better color habits.
How Do Rentals and Used Gear Save You Money?
Useful pieces of equipment need not be purchased new. Renting and buying used can give you access to equipment while preserving money for the parts of your kit you use constantly.
The Benefits of Renting Equipment
Renting is especially ideal for infrequent needs. For instance, you might need a telephoto lens for one event or additional lighting for a specific assignment.
It also lets you test ergonomics in real shooting conditions. Specifications can’t tell you whether a camera feels comfortable after hours of use. They also can’t tell you whether a lens is too heavy for your workflow.
Buying Used Gear Safely
Approach used purchases methodically. Check the seller’s return terms and verify compatibility before paying. For a body, test buttons and card slots. With a lens, inspect its condition and take test shots.
Avoid letting a low price override warning signs. The goal is to build a kit with dependable equipment at a lower cost — not to sacrifice quality for the lowest price.
How Do You Plan a Step-Wise Gear Path?
A gear path is how you can plan for future purchases based on real, growing need. Rather than planning an ideal collection immediately, decide what you need now. From there, identify what limitation would justify your next upgrade.
Starting Small and Upgrading Strategically
At the lowest budget level, prioritize a functional body with one versatile lens. Your next tier can add support equipment or lighting based on what you photograph. Then, you can invest later in specialized camera lenses. Add backup equipment only when your work requires it.
This order keeps spending connected to experience. You’ll also understand new equipment better because you’ll know the problem you expect it to solve.
Matching Gear to Your Goals and Budget
Portrait photography might push lighting higher on your list. Wildlife photography can make a zoom lens more important. Travel photography might mean you need lighter equipment.
Your goals can (and likely will) change, so leave room for your kit to change with them. If you’re interested in working on individual gigs, you may think about a kit designed for freelance photography and the variety of needs your clients may have.
How Do You Get the Most Value from Your Budget?
Value comes from how often equipment helps you make the images you want. Spend first on the limitations you encounter repeatedly, then delay purchases that solve hypothetical problems.
Prioritizing Where to Spend
Protect enough of your budget for a useful lens and reliable storage instead of putting everything into the camera body. If lighting defines your work, direct more money there. Frequent travelers can give more weight to portability and durability.
Keep using equipment that still does its job. An upgrade should add meaningful capability to your repertoire as opposed to just replacing working gear with something newer.
What Can Beginners Learn From Creatives Worldwide?
Being a photographer doesn’t entail building out a universal kit. Climate and working conditions vary across regions, and photographic traditions also shape how people use equipment. Of course, as an individual, you also have your own goals and intentions for your art.
Seeing different approaches can help you separate essential tools from habits that are specific to one style of photography.
Diverse Approaches to Building a Kit
Build your first kit around the images you want to make now, and let experience shape what comes next. For example:
- A street photographer working in a dense city might value a small camera and compact prime.
- Someone documenting wildlife may accept extra weight for additional reach.
- Studio photographers may prioritize lighting because portability matters less.
Deepen Your Knowledge in Digital Photography
As you develop your technical skills, structured study can present opportunities to practice camera operation and lighting. It can also help strengthen your creative process.
At RMCAD, we offer photography education through on-campus and online options, like a Digital Photography Certificate. To learn more, request information today.
Frequently Asked Questions
What do I need in my first photography kit?
A first photography kit typically includes a camera body, a versatile lens and essential accessories such as memory cards, a spare battery and a support option like a tripod. Starting with the basics allows you to learn and grow without overspending. You can add more specialized gear as your skills and needs develop.
Should I buy a new or used camera to start?
Buying used can be wise to save money when building your first kit, often allowing you to get better gear for your budget. As long as you purchase from reputable sources and inspect the equipment carefully, used gear can offer excellent value. New gear provides warranties and the latest features, so the choice depends on your priorities and budget.
What lens should a beginner start with?
Beginners often benefit from starting with a versatile lens that handles a range of situations, such as a standard zoom or a prime lens with a useful focal length. A flexible starter lens lets you explore different types of photography before investing in more specialized options. You can expand your lens collection over time as you discover your interests.
How can I save money when building a photography kit?
You can save money by buying used gear, renting equipment for occasional needs and prioritizing essential items first. Focusing your budget on the pieces that matter most and upgrading gradually helps you build a strong kit without overspending. Renting is particularly useful for trying gear before committing to a purchase.
Do I need expensive lighting equipment to start?
No. Beginners can start with affordable, entry-level lighting and build from there. A starter lighting kit that scales allows you to add equipment as your skills and needs grow. Learning the fundamentals of lighting with basic gear is often more valuable than investing in expensive equipment right away.
What are color targets, and why do they matter?
Color targets are reference tools that help you achieve accurate color in your images. They help ensure that colors are captured and reproduced correctly, which is especially key for consistent, professional-looking results. Including a color target in your kit supports better color accuracy in your editing workflow.
How should I plan my gear upgrades over time?
Planning gear upgrades works best when you start small and upgrade strategically based on your goals and growing skills. Rather than buying everything at once, focus on the essentials first and add gear as you identify specific needs. This step-wise approach helps you invest wisely and avoid unnecessary purchases.