There’s a push to create educational spaces that are inclusive and adaptive, as these innovative classrooms give all students the chance to learn and grow in a way that feels right to them. With this in mind, maker studios have become more popular, particularly in art education.
Developing and designing the makerspace art classroom is the first step. The next is implementing classroom procedures and safety rules that make it an inviting and supportive learning environment.
Building a Studio That Runs Smoothly
Whether working with elementary-aged students using materials and tools for the first time or helping high school students perfect their craft, an art studio setup should improve workflow and promote safety.
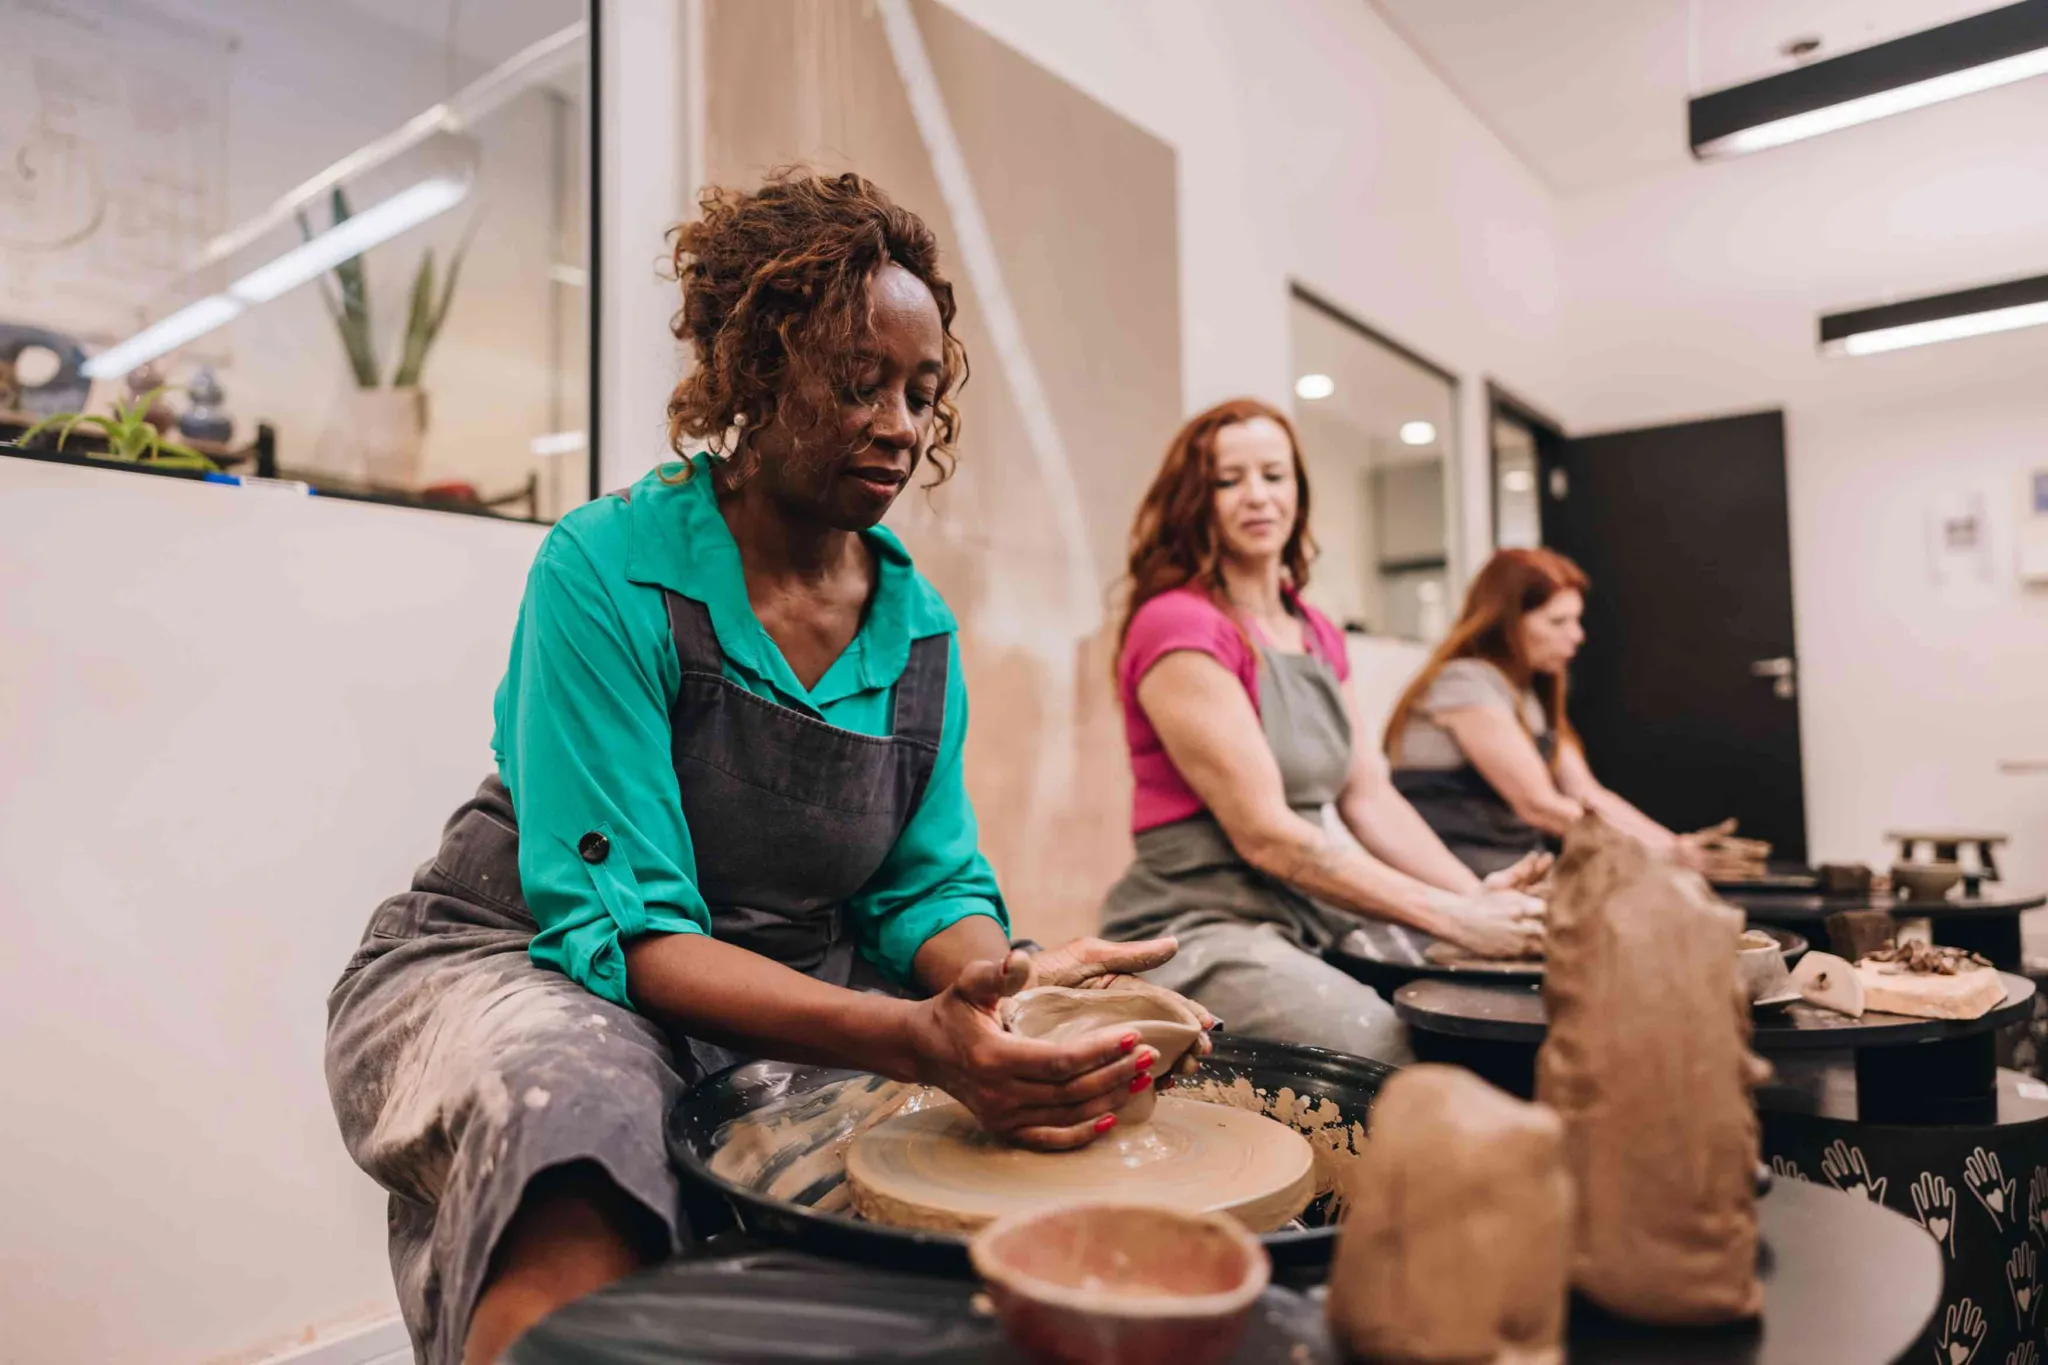
The Maker movement positions art educators at the center of a learning transformation. Rather than creating an art studio where students have to complete uniform, step-by-step art projects, many educators are opting for a makerspace where young learners can explore products and processes through tinkering, experimenting, collaborating and creating.
By nature, these maker studios are more free-flowing than a traditional art classroom, but classroom layout and studio organization are key to the success of these spaces.
What Is Classroom Management in a Maker Studio?
Classroom management refers to the ability to create positive classroom environments and is considered a critical component of high-quality education across all levels. In a maker studio, classroom management looks a bit different than in a traditional classroom.
For example, students may not be required to sit still for the duration of the lesson, like they would when studying science and math topics. Instead, they have the freedom to move, collect supplies, work with their classmates and create something of their own. However, there should still be a sense of structure and order to achieve the best possible outcomes.
How Do You Zone a Studio for Different Activities?
Setting up a makerspace involves establishing zones for different studio activities. Using zones designates specific areas for certain tools, supplies or activities, while promoting classroom organization overall.
You might use zones as part of your creative classroom setup by:
Creating Distinct Work and Safety Zones
A project-based learning lab should have specific spaces for designated activities, such as:
- Classroom and workshop area
- Open tools area
- Supply area
- Wet area or drying station
As you outline zones in the classroom, leave room for traffic lanes so that students can move freely throughout the studio when collecting supplies and collaborating with one another.
Designing Flow and Movement Through the Space
Once you have your action zones in place, you need to begin creating classroom routines that optimize studio workflow. For instance, you can streamline movement through the space by:
- Starting the class off with a lesson or introduction in the central gathering space
- Sending students to the supply station to gather all needed tools and materials
- Letting students choose worktables based on the project of the day
What Are the Best Tool Checkout Systems for Studios?
In some cases, art teachers let students reserve tools and bring them home or to another studio space to complete their projects. If you plan to allow tool checkout, design and implement a system that promotes safety and lets you monitor where all your items are at any given time.
Tracking Tools and Materials Effectively
A tool checkout system makes creativity and collaboration more accessible for all students, but you will want to put a system in place for tracking them. Start by creating an inventory of all tools and materials in your makerspace, then mark all items with tags identifying that they belong to the studio.
A digital tool checkout system is easy for students to use and allows you to keep an eye on your inventory. The school librarian could be an excellent resource for developing a checkout system.
Teaching Responsibility Through Checkout Routines
In student-centered learning environments (including makerspaces), responsibility and autonomy play a pivotal part. Checkout routines provide an opportunity for students to learn about responsibility and take accountability for the materials they borrow. The key is to establish clear expectations and processes as well as outline reasonable consequences if the tools are not returned on time or in good condition.
How Do You Create Effective Cleanup Routines?
Making is messy, but that doesn’t mean your art room organization has to suffer. Cleanup routines are an essential part of classroom management in a makerspace and all students in the classroom should participate in the process.
Assigning Cleanup Roles and Responsibilities
To maximize the amount of time for making and streamline the cleanup process, you can assign classroom jobs to each student. You may consider the following for your makerspace:
- Supply manager is responsible for putting supplies back where they belong and monitoring inventory.
- Maintenance director oversees general housekeeping, such as wiping down workspaces or straightening chairs.
- Drying rack monitor helps get all wet projects safely to the drying space.
Building Cleanup into the Daily Schedule
When it comes to implementing classroom management strategies, cleanup processes are an important part of your normal classroom routines. Requiring students to clean up after themselves enforces the sense of responsibility and accountability crucial in any learning environment.
How Do Safety Contracts Improve Studio Culture?
Group agreements, like student safety contracts, promote positive classroom behavior while fostering a safer learning environment. Safety contracts for students let them play an active role in classroom management and are one of the most effective ways to promote tool safety alongside community culture.
What to Include in a Studio Safety Contract
Your studio safety contract should outline expectations and rules for checking out and using tools, plus creating in the space and cleaning up afterward. Include:
- Basic rules for the classroom (e.g., no food or drink in the makerspace or no running in the art studio)
- Expectations for handling materials and disposing of products
- Mandatory personal protective equipment to be worn in the makerspace
- Guidelines for shared responsibility in the classroom
At the end of the contract, students can write their names on a signature line. (Depending on the level you teach, you may want to have parents sign the contract as well.)
Setting Clear Expectations with Students
Ultimately, safety contracts for students offer a space to outline expectations and encourage responsibility. Setting expectations at the onset can improve student behavior because it gives students parameters to work with as they explore the space.
How Do You Run Effective Studio Demonstrations?
In an open-concept classroom like a maker studio, demonstrations can be challenging. Establishing structured processes can help facilitate more effective and engaging demonstrations for students.
Structuring Demonstrations for Clarity
Begin in a central gathering space where you provide a demonstration that all students can see and participate in. Make sure that demonstrations are designed to offer clarity about the goals for the project and the options available to students, as opposed to step-by-step instructions.
Keeping Students Engaged and Safe
As you show students what they are going to be working on, you can also highlight hand tool safety protocols or provide additional insight into where materials are located. This is your chance to inform students while getting them excited about the possibilities ahead.
How Do You Maintain Safety in a Busy Studio?
Maker studios are energetic, buzzing spaces where students are constantly gathering supplies, using tools, sharing ideas and creating. There may be more movement than in a traditional classroom, which is why safety should be prioritized.
The following art teacher tips can help promote safety without limiting students:
Managing Equipment and Materials Safely
Proper labeling and storage protocols are necessary for managing equipment in a maker studio. Visual labeling enables students to identify where materials are and how to handle them. For example, labeling a sharps disposal container in your maker studio lets students know where to place potentially dangerous tools when they are done using them.
Preventing Common Studio Hazards
A risk assessment checklist can help quickly assess the classroom environment and identify potential hazards. Using this checklist at the start and end of every class can serve as a crucial prevention tool.
How Do Routines Support a Productive Studio?
In terms of classroom management, studio routines help curb negative student behavior and curate an inclusive, welcoming space in which all learners feel they can participate. The routines implemented should be designed to boost student engagement, streamline studio workflow and maximize the amount of time spent creating.
Establishing Consistent Daily Rhythms
Students tend to thrive when clear and consistent routines are in place. Classroom routines support predictability, giving learners a lasting sense of security. When they arrive in the maker studio, students know what to expect, and they can focus more on collaborating and creating rather than wondering about what comes next.
What Can Educators Learn From Global Studio Practices?
Around the world, art teachers rely on different classroom management strategies and instructional techniques to encourage students to think outside the box and develop innovative concepts. A global arts maker studio is one in which students can experience the creative process through the lens of different cultures and traditions, in turn letting them connect their own ideas to the wider world around them.
Diverse Approaches to Studio Management
As an art educator, you may consider incorporating diverse studio management strategies into your own makerspace. For instance, in Japan, art educators often blend traditional craftsmanship with modern ideas, helping students deepen their connection with their cultural identity while considering new approaches and ways of thinking.
By recognizing that no single tried-and-true approach to classroom management exists in a makerspace, you can continue refining your teaching style while cultivating a global perspective.
Learn Leading Classroom Management Strategies for Your Makerspace at RMCAD
When it comes to maker education, studio workflow and shop safety matter. Rocky Mountain College of Art + Design’s (RMCAD) on-campus Bachelor of Fine Arts in Art Education and online Bachelor of Fine Arts in Art Education equip students with the art classroom management skills needed to bolster creativity within safe, effective learning environments. These art education degree programs are intentionally designed to help graduates emerge as more socially conscious, globally minded educators.
Request more information about how you can become both an artist and an educator.
Frequently Asked Questions
What is classroom management in a maker studio?
Classroom management in a maker studio involves organizing the space, routines and expectations that keep a hands-on learning environment running smoothly. It entails zoning the room, managing tools and materials, establishing cleanup systems and maintaining safety. Effective management helps students focus on creating while staying safe and organized.
How do you zone a maker studio effectively?
Zoning a maker studio means dividing the space into distinct areas for different activities, such as work zones, tool storage, demonstration areas and safety zones. Thoughtful zoning improves workflow, reduces congestion and helps students move safely through the space. Clear boundaries also make it easier to manage equipment and materials.
What is a tool checkout system, and why is it useful?
A tool checkout system is a method for tracking who is using tools and materials in the studio. It helps prevent loss, keeps equipment organized and teaches students responsibility. By requiring students to check tools in and out, educators can maintain an accurate inventory and ensure tools are properly cared for.
How can I keep a studio clean and organized?
Keeping a studio clean and organized starts with building cleanup routines into the daily schedule and assigning clear roles. When students know their responsibilities and cleanup is treated as part of the workflow, the studio stays orderly. Consistent routines help maintain a safe and functional space over time.
What should a studio safety contract include?
A studio safety contract should outline expectations for safe behavior, proper tool use, cleanup responsibilities and consequences for unsafe actions. It sets clear guidelines that students agree to follow, helping to create a shared culture of safety and accountability. Reviewing the contract together reinforces its importance.
How do I run effective demonstrations in a studio?
Effective demonstrations are clear, well-structured and focused on both technique and safety. Positioning students so everyone can see, explaining each step and highlighting safety practices help ensure understanding. Keeping demonstrations engaging and concise allows students to absorb the information and apply it confidently in their own work.
How can educators keep a busy studio safe?
Educators can keep a busy studio safe by managing equipment and materials carefully, establishing clear routines and reinforcing safety expectations. Identifying and preventing common hazards along with maintaining organized zones and ensuring students understand proper procedures all contribute to a safer studio environment for everyone.