Your phone is already doing much more than taking quick snapshots. Contemporary cameras combine small lenses and sensors with sophisticated software, giving you enough control to create images that can hold up well beyond a phone screen. Once you understand smartphone camera settings, file formats and editing choices, professional phone photography becomes a much more realistic part of your creative workflow.
Turning Your Phone into a Pro Camera
The biggest shift from amateur pictures to professional happens when you stop treating your camera app as completely automatic. Learning a few phone camera tips — such as how exposure, focus and file type affect the finished image — gives you more control before you start editing.
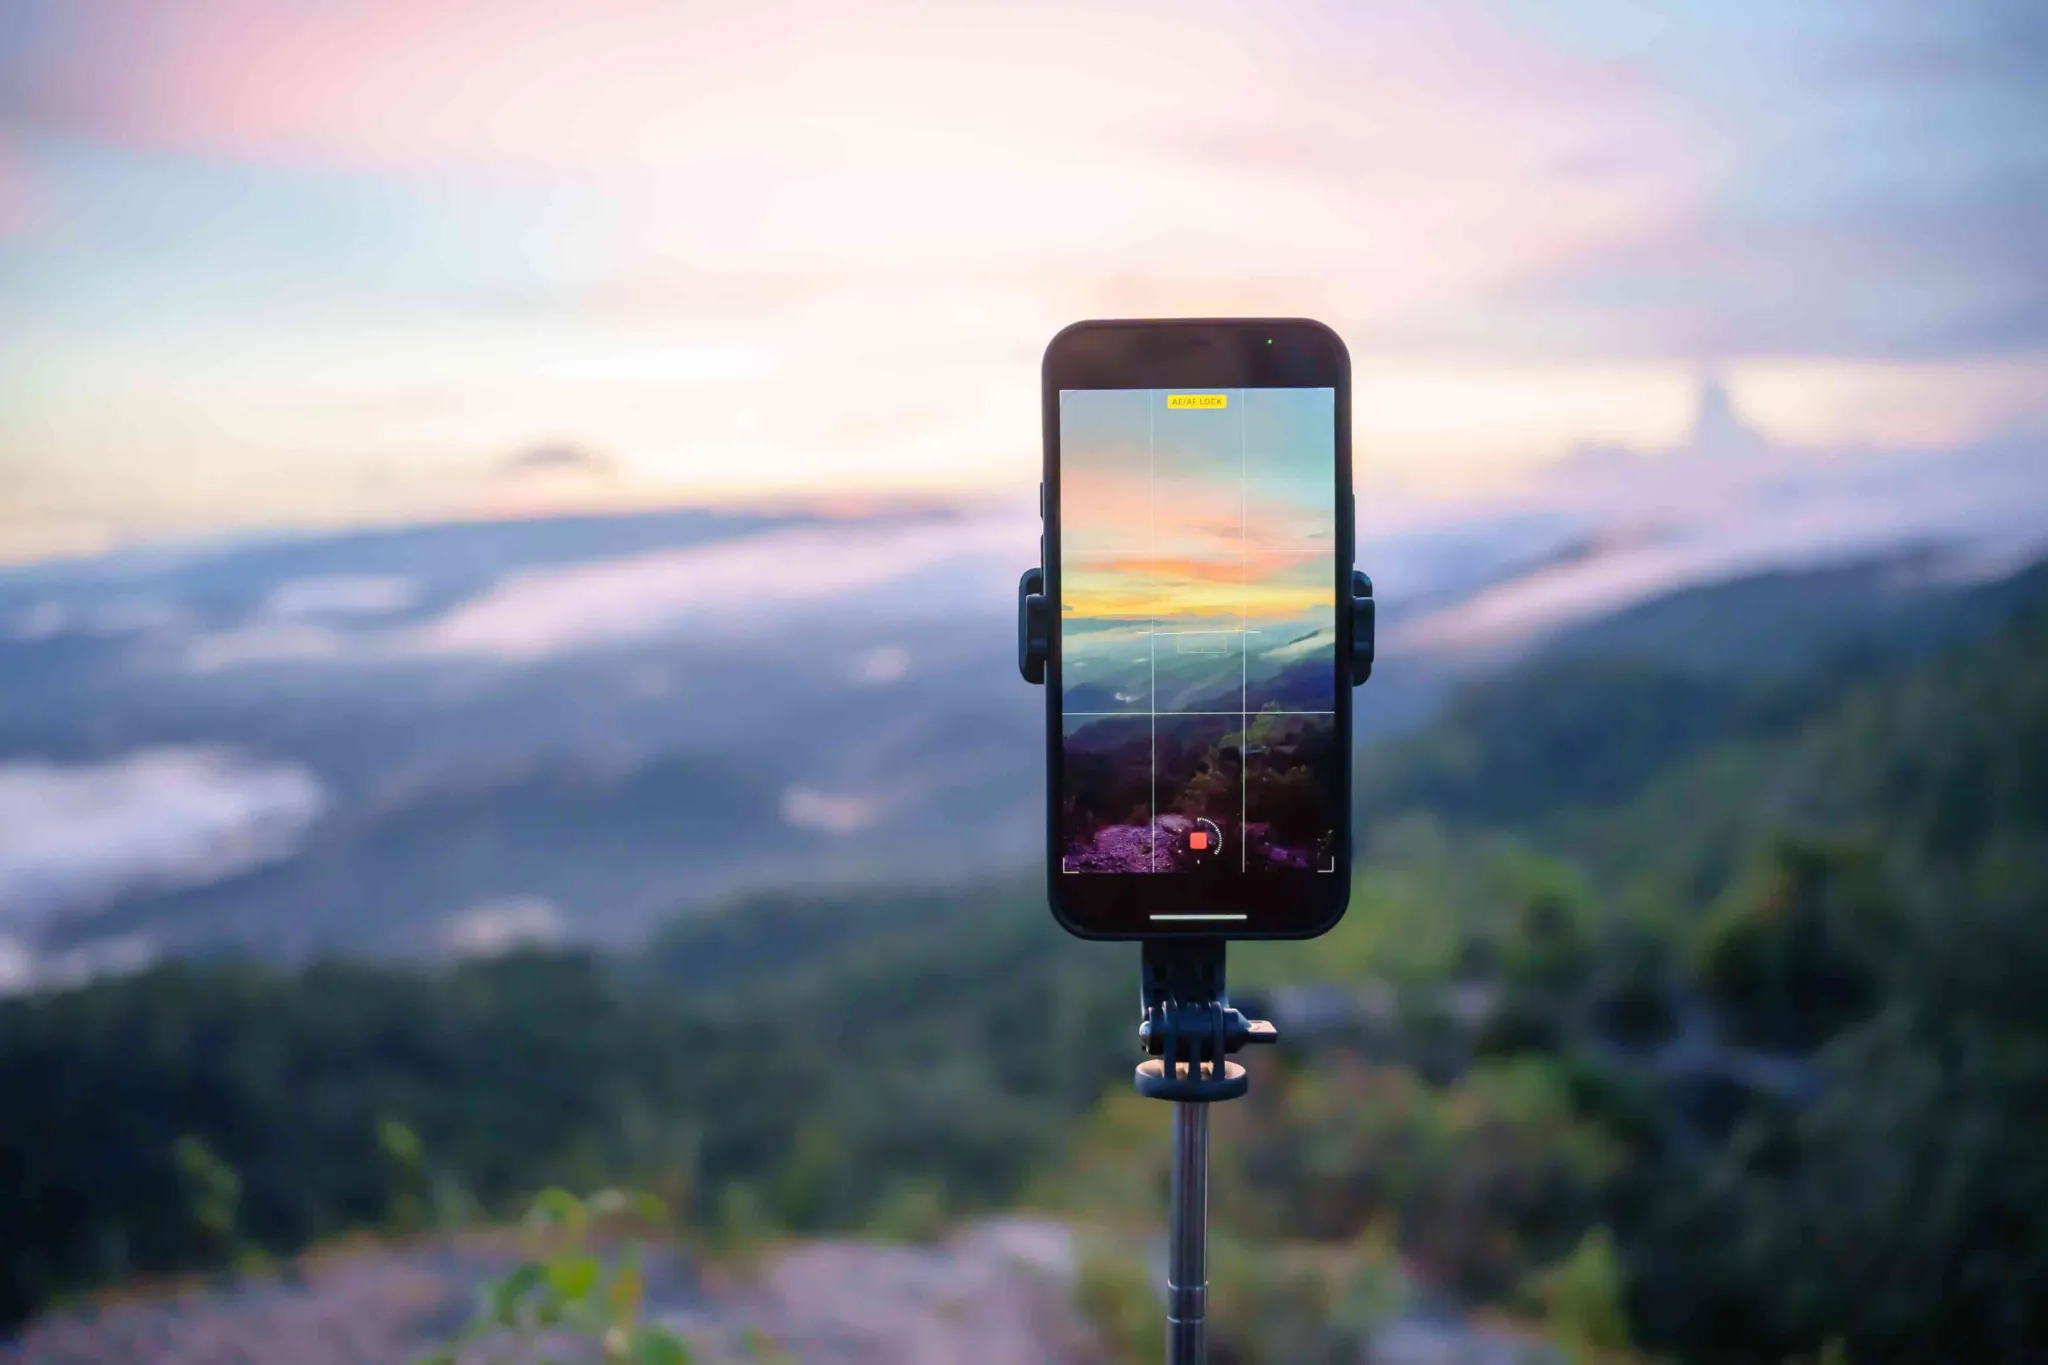
You don’t need to turn every photograph into a technical exercise, either. The point of pro mode photography is knowing when taking control will give you a better result. Add a tripod for phone shooting when stability matters, so you can work much more deliberately in low light, with longer exposures or with scenes you compose for that perfect shot.
Why Smartphones Can Produce Print-Ready Photos
Phones still use smaller sensors than most dedicated cameras, but software helps compensate for some of those physical limits. Today’s smartphone camera features can combine several exposures, reduce noise and sharpen detail before you ever see the finished image.
Research on mobile image processing shows how computational methods can help smartphones compensate for limitations like smaller sensors through techniques including multi-frame processing and image enhancement. That doesn’t make every phone image suitable for large format prints, but it means the hardware alone doesn’t tell the whole story.
Understanding Computational Photography
Computational photography allows a phone to combine multiple frames, resulting in an image that can look better than a single shot. Instead of recording a single exposure and stopping there, the camera can analyze and combine information from multiple frames before showing you the result.
How Your Phone Processes Images
When you press the shutter, your phone can automatically:
- Adjust exposure.
- Align multiple frames.
- Reduce noise.
- Recover details.
That processing is useful, but it also means the photograph on your screen isn’t necessarily a neutral record of what the sensor captured. Researchers have noted that automated phone-camera processing can substantially alter elements such as:
- Exposure
- Focus
- Color
- Sharpening
The Role of Computational Tools in Quality
Computational tools become particularly helpful when the light is difficult. Night mode photography, noise reduction and a high dynamic range (HDR) photo workflow can pull valuable information from scenes that might otherwise lose shadow or highlight detail. The skill comes from recognizing when the automated result works and when you need to take more control yourself.
Shooting in ProRAW and HEIF
File format is one of the first decisions that affects how far you can push an image later. For serious iPhone photography, ProRAW and HEIF are two options. They each serve their own purposes, so neither is automatically the right choice for every photograph.
What ProRAW Offers for Editing
Shooting in RAW gives you more flexibility than JPEG, for instance, because you retain more information for later editing instead of committing immediately to a finished-looking file. ProRAW is useful when you already know you’ll make significant changes to exposure, color or tonal balance. The trade-off is a larger RAW photo and data file, which can eat up memory fast.
When to Choose HEIF
The HEIF format is a suitable choice when you need high image quality in a more efficient file format. HEIF supports sophisticated image storage while keeping file sizes manageable, making it practical for frequent shooting and minimal editing. The format also supports computational photography use cases and multiple-image information.
Taking Control with Manual Settings
Adapting on the fly can be tough. In this regard, automatic exposure is helpful. Unfortunately, though, there are times when automatic exposure can choose a direction you wouldn’t have, in turn leaving an image too bright or too dark. Manual mode photography lets you decide how the camera handles motion, brightness and focus versus correcting every decision afterward.
Adjusting ISO, Shutter Speed and Focus
In iPhone Pro mode — or if you use an app that offers manual camera controls — pay attention to the relationship between ISO and shutter speed to improve image quality. Lower ISO generally helps preserve cleaner detail, while shutter speed controls how motion is rendered. Tap the screen to make sure you focus on the right part of the image, too.
Balancing Exposure for Detail
Mobile photo editing is easy, but you still should make sure not to lose data. Avoid making parts of an image too bright or dark; preserve the highlights. Additionally, this is a time when optical vs. digital zoom matters. Relying heavily on digital enlargement can leave you with less real image information when it’s time to print.
Using Exposure Bracketing for Better Range
Some scenes contain more brightness range than a single exposure can comfortably capture. Exposure bracketing yields lighter and darker versions of the same composition, which you can use to create high dynamic range images or adjust your image later for better color and tone.
Capturing Highlights and Shadows
For HDR photography, bracket around a normal exposure instead of trying to capture the full range in a single shot. A darker frame can protect a bright sky, whereas a lighter one preserves more information in deep shadows. Shooting in RAW also means you keep more information to make adjustments later in an app like Adobe Lightroom, if you so choose. Keep your phone steady between exposures so edges align, especially if the scene includes architecture or fine details.
Blending Exposures for Dynamic Images
When you have multiple exposures of the same image, you can build an HDR image. Just remember that more processing isn’t automatically better. Multiple exposures can be selected and fused to overcome limited camera dynamic range, but the goal is to preserve useful detail without flattening every shadow or creating an obviously processed look.
Mobile Color Workflows
A photograph can look striking on your phone but not retain the same color or sharpness in print. Building a consistent mobile color workflow can help correct for issues that may lead to fuzzy or unbalanced prints.
Editing for Accurate Color
Start by avoiding major color decisions while your display brightness is constantly changing. Tools like Lightroom Mobile give you more control over white balance, tone and targeted adjustments.
Meanwhile, RMCAD’s guide to a color-managed editing workflow helps inform a solid next step for understanding how color moves through an editing process. Color accuracy in photography matters even more when your final destination is paper rather than another digital screen.
Preparing Files for Print
Before exporting your file for print, find out what the printer or lab actually needs instead of saving the largest possible file (or sending them the wrong file type). Preparing photos for print entails checking dimensions, keeping a clean master copy and applying sharpening with the final output size in mind. A reliable mobile photography workflow makes those choices easy to repeat, giving you better consistency overall.
Getting Images Ready for Large-Format Prints
Large prints and blowing up images can surface problems you wouldn’t notice on a smaller display. When printing phone photos, consider your original capture and the expected viewing distance as opposed to relying on the megapixel count alone.
Understanding Resolution and Detail
You need a higher resolution for printing than for viewing an image on a screen; e.g., 72 DPI is normal on a screen but will not print clearly in most cases. A photograph can look crisp when it’s small and noticeably softer when enlarged, especially after heavy cropping or digital zoom. When focusing on photography for large prints, start with the highest-quality original file at a high DPI (300 is standard for print), and avoid discarding pixels before you know your output dimensions.
Avoiding Common Print Pitfalls
Heavy sharpening, aggressive noise reduction and extreme saturation may all look acceptable on a phone yet obvious in print. Another common mistake is editing from a compressed copy rather than the original image. One of the best print photography tips is to make a smaller test print before committing to expensive large-format prints.
Global Perspectives in Mobile Photography
Mobile photography has lowered the equipment barrier for photographers worldwide. Still, that doesn’t mean everyone uses the technology in the same way. A phone can document everyday life, support highly creative merged images and artwork or give someone a less intrusive camera than a DSLR for taking photos in public spaces.
Diverse Creators Pushing Mobile Boundaries
You need not imitate traditional camera aesthetics for phone work to count as serious photography. Mobile photography techniques can support street photography, personal storytelling and experimental images while giving creators a camera that’s almost always available. Research into how people judge mobile photographs also points to the importance of context and individual differences alongside basic visual qualities.
Building Your Print-Ready Workflow
An effective workflow helps you handle technical issues while improving the image, not detracting from it. Once you know how you like to capture and edit photos, you can repeat the process without forcing every image into the same style.
A Step-by-Step Approach
A print-ready workflow starts with a smart approach to taking the photo you want to print.
- Begin by choosing the right lens (if you have the option), then the correct file format. \
- Set your exposure.
- Use stabilization or bracketing when the light calls for it.
- Edit from your strongest original.
- Export specifically for your intended print size.
You might expand that process based on the demands of your project. This guide to time-lapse photography is useful when you want to experiment with changing scenes during the day (but especially at night). Or, discover external tools with this off-camera flash guide that explores another way to control light.
Big Prints from a Small Device
Phone photography tips aren’t about pretending your smartphone is identical to a dedicated DSLR or mirrorless camera. More so, they’re focused on understanding what your device does well, recognizing where its limits show up and learning how to leverage advanced smartphone photography techniques to improve the output. A thoughtful combination of capture, editing and mobile photography techniques gives you much more control over whether an image stays on your screen or becomes a finished print.
Rocky Mountain College of Art + Design (RMCAD) offers both an on-campus Bachelor of Fine Arts in Photography and an online Photography degree program. If you’re ready to get started, request more information today.
Frequently Asked Questions
Can smartphone photos really be printed in large format?
With the right techniques, smartphone photos can produce high-quality large-format prints. Shooting in formats like ProRAW, using manual controls and following a careful color workflow helps capture the detail and quality needed. Modern smartphones, combined with computational photography, can deliver impressive results when used thoughtfully.
What is ProRAW, and why should I use it?
ProRAW is a file format that merges the flexibility of traditional raw files with the benefits of computational photography. It retains more image data, allowing greater control over editing adjustments like exposure, color and detail. This makes ProRAW an excellent choice for photographers who want print-ready results.
What is the difference between ProRAW and HEIF?
ProRAW preserves more image data and offers greater editing flexibility, so it is ideal for detailed post-processing and printing. HEIF is a more compressed format that saves storage space while still maintaining good quality. Choosing between them depends on whether you prioritize editing flexibility or file size efficiency.
Why should I use manual controls on my smartphone?
Manual controls lend greater control over images by enabling you to adjust settings such as ISO, shutter speed and focus. This control helps you capture proper exposure and detail in a variety of conditions — producing higher-quality images that hold up better when printed at large sizes.
What is exposure bracketing, and how does it help?
Exposure bracketing entails capturing multiple images at different exposure levels, then blending them to preserve detail in both highlights and shadows. This technique expands the dynamic range of photos, which is especially helpful in high-contrast scenes and yields richer, more detailed final images.
How do I prepare smartphone photos for printing?
Preparing photos for print involves editing for accurate color, ensuring sufficient resolution and exporting files in the correct format. Understanding how resolution affects print size, plus avoiding common issues like over-sharpening or color shifts, helps ensure your final prints look their best at large formats.
Do I need professional equipment to take print-ready photos?
No. While professional gear can help, a modern smartphone with Pro Mode features, manual controls and a thoughtful workflow can produce print-ready images. Understanding your device’s capabilities and applying strong shooting and editing techniques matters more than expensive equipment for achieving quality results.